
Tenancy turnover shouldn't feel like a marathon. Yet for landlords and property managers across London and Kent, the check-in process often becomes the bottleneck that delays new lets, creates administrative headaches, and sets the wrong tone from day one.
The reality? A poorly executed property check-in report isn't just inconvenient: it's legally vulnerable. When deposit disputes arise months later, adjudicators demand evidence. Without a meticulous, time-stamped record completed at the start of the tenancy, you're fighting an uphill battle.
Here's the good news: you don't need complicated templates or expensive software to create watertight check-in reports. You need precision, consistency, and a professional approach that protects both parties from day one. These five tips will transform your check-in process, speed up turnover, and give you the documentation you need to win deposit disputes before they even start.
1. Complete Your Inspection Before Tenants Arrive
Arriving early isn't just good manners: it's strategic. When you finish your property check-in report before tenants walk through the door, you eliminate the pressure of working around their schedule whilst maintaining complete objectivity.
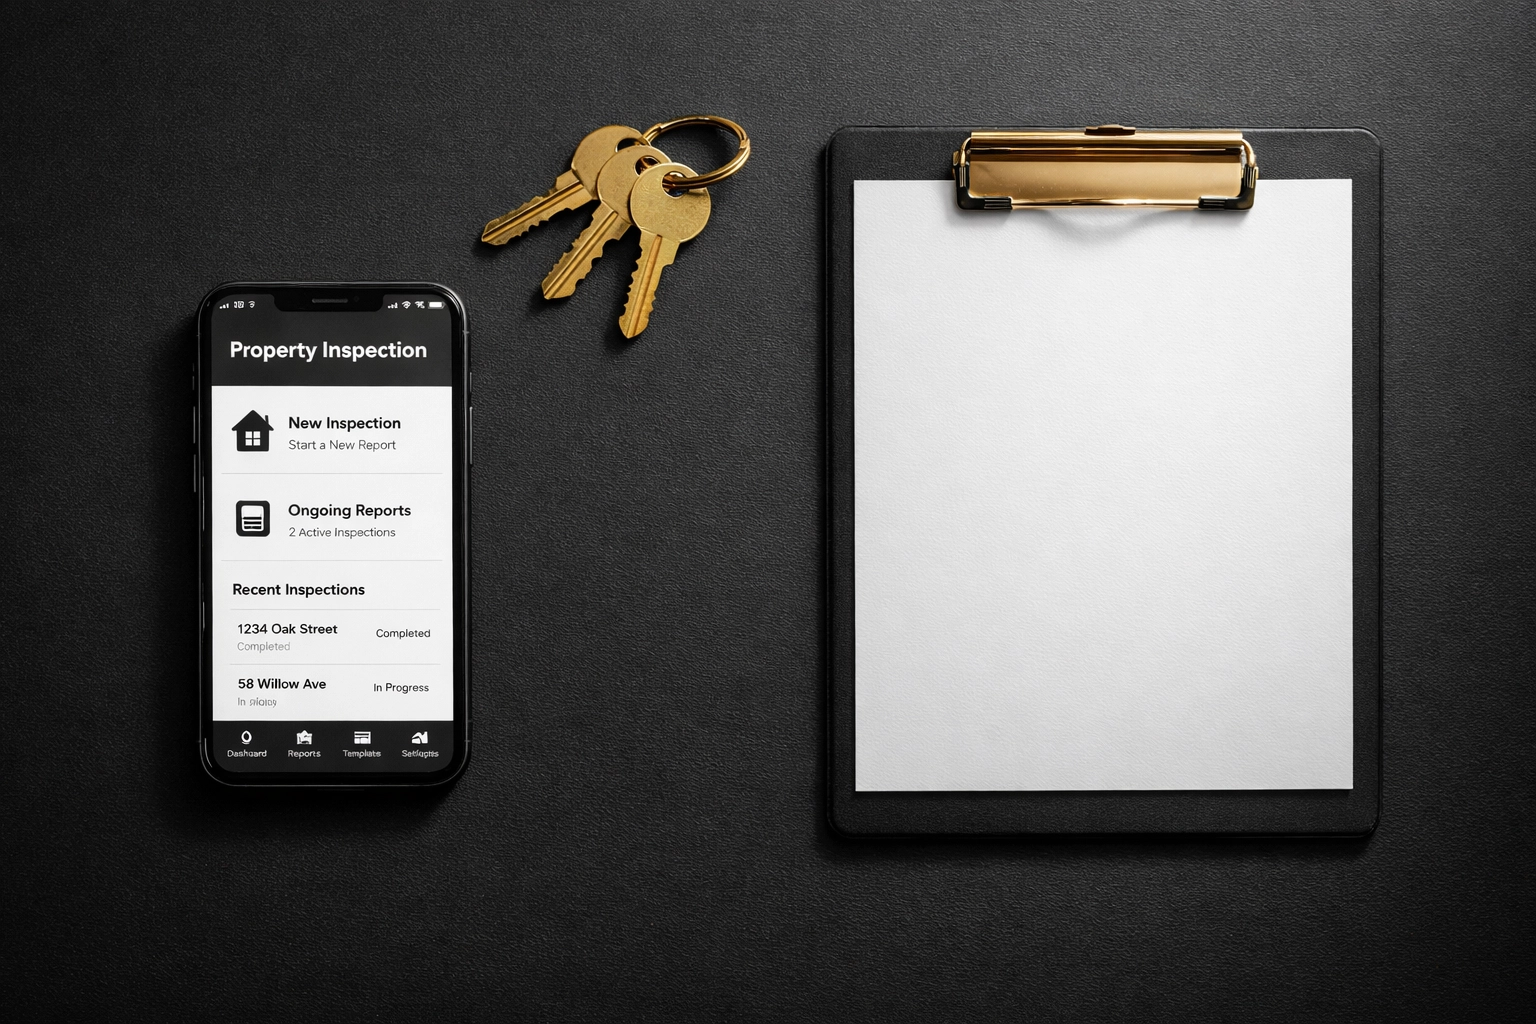
Start your inspection at least 30 minutes before the scheduled appointment. Work methodically through each room, documenting the property's condition without distraction. Use your smartphone or professional inspection app to capture photographs of every space, focusing on both overall room condition and specific details that matter.
This approach serves multiple purposes. First, it allows you to work at your own pace, ensuring nothing gets missed. Second, it creates a complete record that tenants can review rather than watch you compile in real-time. Third, it demonstrates professionalism: you're presenting finished work, not cobbling together notes on the fly.
When tenants arrive, your role shifts from documenting to verifying. Walk them through your findings, give them time to review each room, and invite them to flag any discrepancies. This collaborative approach builds trust whilst keeping the appointment moving efficiently.
Remember: a rushed inspection at check-in becomes an expensive problem at check-out. Invest the time upfront, and you'll save hours of dispute resolution later.
2. Pair Time-Stamped Photography with Precise Written Descriptions
Visual documentation alone isn't enough. Neither are written notes without supporting images. The strongest property check-in reports combine both elements, creating an irrefutable record of condition.
Take time-stamped photographs of every room from multiple angles. Capture wide shots that establish overall condition, then zoom in on any existing damage, wear, or notable features. Your smartphone's metadata automatically records the date and time: this timestamp becomes crucial evidence if disputes arise.

But don't stop at photos. Pair each image with specific written descriptions that provide context an adjudicator can understand months later. Instead of noting "floor damage," write "three parallel scratches, approximately 15cm long, on oak flooring near kitchen entrance: consistent with furniture movement." This level of detail transforms your report from casual observation to legal documentation.
Focus particularly on high-dispute areas: kitchen worktops, bathroom fixtures, carpets in high-traffic zones, and painted walls. Document the condition of white goods, test all appliances, and note any existing faults. When you combine precise language with visual proof, you create evidence that holds up under scrutiny.
At Evestaff Property Inventory Clerks, we've spent over a decade perfecting this documentation approach across properties throughout London and Kent. Our experienced clerks know exactly which details matter most when disputes reach adjudication: and which descriptions strengthen your position versus creating ambiguity.
3. Secure Tenant Sign-Off Before Completion
A signature isn't just a formality: it's legally binding acknowledgement that the tenant has reviewed, understood, and agreed with your property check-in report. Without it, you're vulnerable to claims that they never saw the documentation or disputed its accuracy from the start.
Before concluding your inspection, walk tenants through the complete report. Give them adequate time to review every section, ask questions, and raise concerns. Address any discrepancies immediately: if they notice damage you missed, add it to the report on the spot. This transparency protects both parties.
Once they've reviewed everything, obtain their signature electronically or physically. Modern inspection apps allow digital signatures captured on smartphones or tablets, creating tamper-proof records with built-in timestamps. This signature confirms they've seen the evidence, understand the property's condition, and accept responsibility for maintaining it throughout their tenancy.
Don't rush this step. Tenants who feel pressured into signing without proper review become tenants who dispute deductions later. Take the time to ensure genuine understanding and agreement: it's an investment in dispute prevention.
4. Include All Essential Documentation Elements
A comprehensive property check-in report extends beyond room condition. Missing critical administrative details undermines your entire documentation, regardless of how thorough your photographic evidence might be.
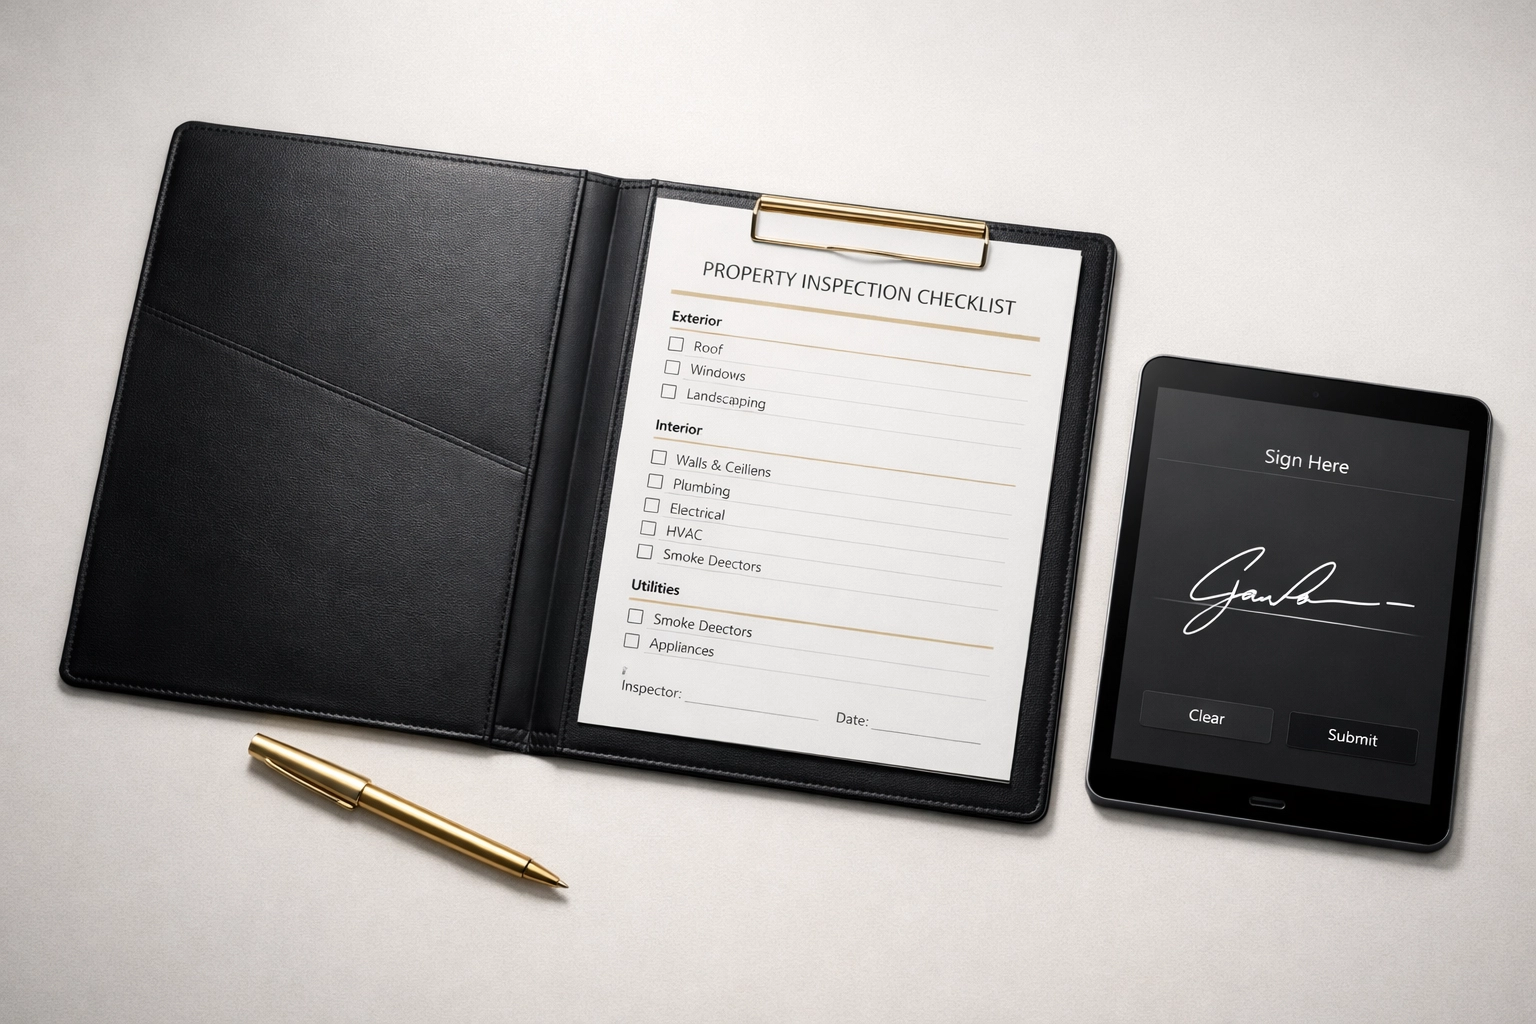
Every report must include:
Property identification: Full address, unit number if applicable, and property type. This seems obvious until you're managing multiple properties and need to reference specific reports months later.
Tenant details: Full names of all adults listed on the tenancy agreement. Ensure everyone signs the check-in report: joint responsibility requires joint acknowledgement.
Date and time stamps: When the inspection occurred, when photos were taken, and when the tenant reviewed and signed. Metadata from digital photography provides automatic timestamping, but your written report should explicitly state inspection date and time.
Keys and access devices: Document every key, fob, remote control, or access card provided. Note quantities and types. Missing keys become expensive disputes at check-out: your check-in record proves exactly what was issued.
Safety compliance: Record meter readings, test smoke alarms and carbon monoxide detectors, and document their locations and condition. Note expiry dates on detectors and any required maintenance. This isn't just good practice: it's legal compliance that protects you from liability claims.
Utilities and services: Document which utilities are tenant responsibility versus landlord responsibility. Note any existing issues with heating, hot water, or electrical systems.
Skipping these elements creates gaps that weaken your position when disputes arise. Adjudicators expect comprehensive documentation: partial records suggest incomplete due diligence.
5. Apply Consistent Evaluation Standards Across All Properties
Consistency is credibility. When you use the same evaluation criteria, the same checklist format, and the same condition descriptors across all your property check-in reports, you demonstrate professional standards that adjudicators respect.
Develop a systematic approach that you apply universally. Move through properties in the same sequence: entrance, living areas, bedrooms, bathrooms, kitchen, external spaces. Use standardised condition grades: excellent, good, fair, poor. Define what each grade means and apply those definitions consistently.

This consistency matters most when comparing check-in condition to check-out condition. If your check-in report describes kitchen flooring as "good with minor scuff marks" but uses completely different language at check-out, you've created ambiguity that works against you. Standardised language eliminates confusion and strengthens your evidence.
Crucially, learn to distinguish between normal wear and tear versus tenant damage. Paint that's slightly faded after twelve months? Wear and tear. A hole punched in the wall? Damage. Carpet with light traffic patterns after two years? Wear and tear. Red wine stains on cream carpet? Damage. Your property check-in report establishes the baseline that makes this distinction possible.
Professional inventory clerks bring this consistency through experience. At Evestaff Property Inventory Clerks, our team has conducted thousands of inspections since 2012. We've refined our evaluation standards through years of real-world application and adjudication outcomes. This expertise ensures your documentation meets the standards that actually matter when disputes reach resolution.
The Professional Advantage
These five tips provide the foundation for effective property check-in reports. But implementing them consistently whilst managing multiple properties, handling tenant queries, and maintaining your business requires significant time and expertise.
This is where professional inventory clerks add value that far exceeds their cost. Independent third-party documentation carries substantially more weight with adjudicators than landlord-completed reports. When disputes arise, independence matters: it eliminates any perception of bias or self-interest.
Professional clerks also bring technological advantages. Modern inspection software creates comprehensive, searchable records with automatic cloud backup. HD photography with embedded metadata provides indisputable evidence. Digital signatures create tamper-proof acknowledgements. These aren't luxuries: they're standard practice for professionals who understand what adjudicators require.
Most importantly, professional check-in reports free you to focus on what matters: finding quality tenants, maintaining properties, and growing your portfolio. The hours you'd spend on meticulous documentation become hours invested in your business.
Whether you manage five properties or fifty, the principles remain the same. Complete thorough inspections before tenants arrive. Combine timestamped photography with precise written descriptions. Secure proper sign-off before completion. Include all essential documentation elements. Apply consistent standards across all properties.
Follow these five tips, and you'll transform your tenancy turnover from administrative burden into streamlined process. Your check-in reports become the foundation for successful tenancies: and the protection you need when things go wrong.
Because in property management, precision at the start prevents problems at the end.
Join The Discussion