
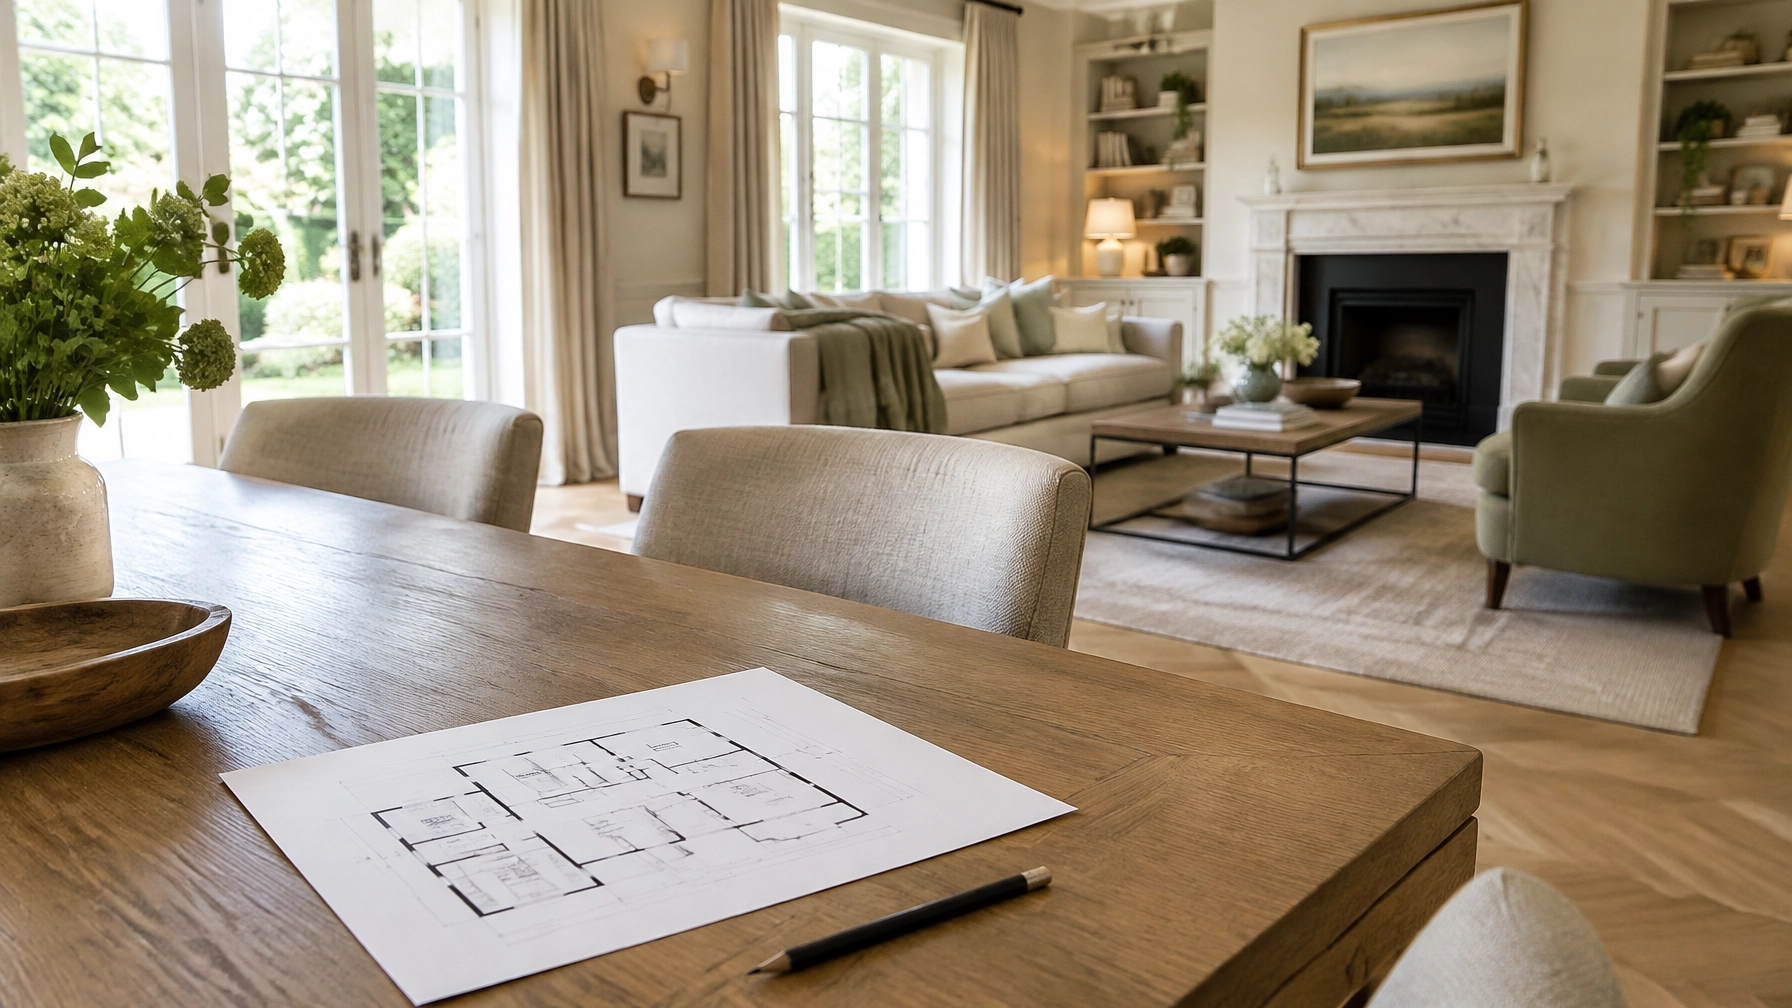
Most people look at a floor plan without ever really reading it. The rooms are easy enough to spot, but the floor plan symbols are doing the quieter work: showing where doors swing, how the stairs rise and which marks represent fittings rather than walls. Once you know what to look for, the plan becomes much easier to interpret.
This plain-English guide explains how to read a floor plan in a listing, survey or inventory pack. It is useful whether you are a landlord reviewing a property, a letting agent preparing a file or a property manager checking the layout before an inspection.
Floor plan symbols: start with the wall lines
The heaviest lines on a plan usually show the walls. External walls are generally drawn thicker than internal partitions, while thinner lines tend to indicate fittings and other non-structural elements.
Treat line weight as a visual clue, not a structural verdict. A plan helps you understand the layout; it does not, by itself, confirm whether a particular wall is load-bearing. If a feature is shown differently from the usual convention, look for an explanation in the floor plan key.
Doors and arcs: the small curve with a practical job
A hinged door is usually drawn as a short line for the door leaf, paired with a quarter-circle arc. The leaf shows the door itself; the arc shows its swing and the clearance it needs to open.
That curve is not decorative. If it sweeps into a room, the area within the arc needs to remain clear for the door to open properly. A wardrobe, desk or large chair placed there may make an otherwise sensible layout rather less sensible.
When reviewing a room, check which way the door swings and where its hinge sits. It can also help explain why a doorway appears to narrow the usable space, or why a piece of furniture may be awkward to position.

Windows: look for the break in the wall
Windows are commonly shown as a gap in the wall, with thinner parallel lines marking the frame and glass. The wall line pauses; the delicate lines across the opening indicate the window.
A bay window may project beyond the main wall outline. It is easy to mistake that projection for a standard rectangular corner, so take a moment to follow the external wall line around the room.
Stairs and changes of level
Stairs are typically represented by a run of parallel lines for the treads and an arrow marked UP or DN to show the direction of travel. The number of risers may also be included.
Read the arrow with the floor level in mind: it tells you which way the stairs rise or descend from the level shown. This is particularly useful when comparing plans for different storeys or understanding how a landing connects the rooms.

Fitted fixtures: familiar shapes, simplified
Kitchen and bathroom fittings are usually drawn as simple icons rather than detailed illustrations. A bath often appears as a rounded-end rectangle. A hob may be a square containing circles for its burners. Basins, sinks, showers and toilets are also represented by simplified outlines.
These marks show the general position of a fixture. They are not detailed product drawings, so focus on what is indicated and how it relates to the room layout.
Radiators, chimney stacks, ceiling-height changes and other features may have their own symbols. Some are fairly recognisable; others rely on a note or a legend. When a symbol is unfamiliar, resist the urge to guess. Check the floor plan key.

The abbreviation decoder
Room labels save space, but they can look like a small puzzle if you do not know the conventions. Common abbreviations on UK agent plans include:
- LR, lounge
- BR, bedroom
- WC, toilet
- K, kitchen
A bedroom may also be identified by number or shorthand such as B2 or B3, usually indicating the second or third bedroom. Abbreviations can vary between plans, so check the key rather than assuming every plan uses exactly the same notation.
Dimensions: read the numbers with their boundaries
Dimension lines show what is being measured. Arrowheads or other end marks indicate the boundaries the measurement relates to. Room dimensions are often written width by depth, for example 4.2 × 3.6 m, but check how each figure is positioned on the plan rather than relying on the order alone.
Metric dimensions are common. Technical plans may use millimetres, while property plans often show metres. Pay attention to the stated units and any qualification alongside the figures.
RICS measuring practice includes conventions for where measurements are taken: above skirting level and no higher than 1.5 metres. It also calls for features such as sloping ceilings, stepped floor levels and fitted units occupying usable space to be clearly qualified. So if a loft-room dimension comes with a note, read it: that qualification may tell you more about the usable space than the number alone.
Scale bar, north arrow and floor plan key
The scale bar helps explain the relationship between the drawing and the space it represents. Look for it before interpreting the plan’s proportions. A north arrow shows orientation, which can help you understand how the rooms sit in relation to the outside of the property.
Most importantly, find the floor plan key. It explains symbols and abbreviations that may be specific to that drawing. If the key is missing or a mark remains unclear, do not quietly assign it a meaning of your own. Make a note and ask the person who supplied the plan.
Loft and basement plans need a head-height check
A room can appear generous on paper while having less usable space than its outline suggests. Sloping ceilings in lofts and restricted head height in basements are not always obvious at first glance.
Look for qualification notes about ceiling height, floor levels or usable areas. Also notice when dimensions are missing or when a door arc appears to conflict with a likely furniture position. These are common points of confusion, and a careful read can help you identify what needs clarifying before relying on the layout.
Why consistent plan conventions help
A plan drawn to a consistent standard is generally easier to interpret than a quick sketch that uses unexplained marks. RICS guidance underpins professional floor plan work, helping provide a more consistent framework for presenting dimensions and qualifying features. The key still matters: conventions are useful, but the drawing’s own notes explain how its symbols should be read.
A professional floor plan also sits naturally alongside the other records used to manage a property. Evestaff Property Inventory Clerks, founded in 2012 and based in Folkestone, supports landlords, property managers and letting agents across London and Kent. Professional floorplans sit alongside inventories, check-ins, check-outs and inspections in the wider residential property services offering. You can also see the areas covered.
Evestaff’s highly experienced clerks use modern technology and a meticulous, precision-focused approach. The team are accredited members of ECMK, reinforcing a commitment to professional standards. When a clear plan is considered with the wider property documentation, it is easier to understand what each record covers, and where a symbol or note needs a closer look.
If you are arranging a first booking, new customers can receive a 10% discount. And if you know another landlord or property professional who could use the service, take a casual look at the Refer a Friend offer.
Join The Discussion