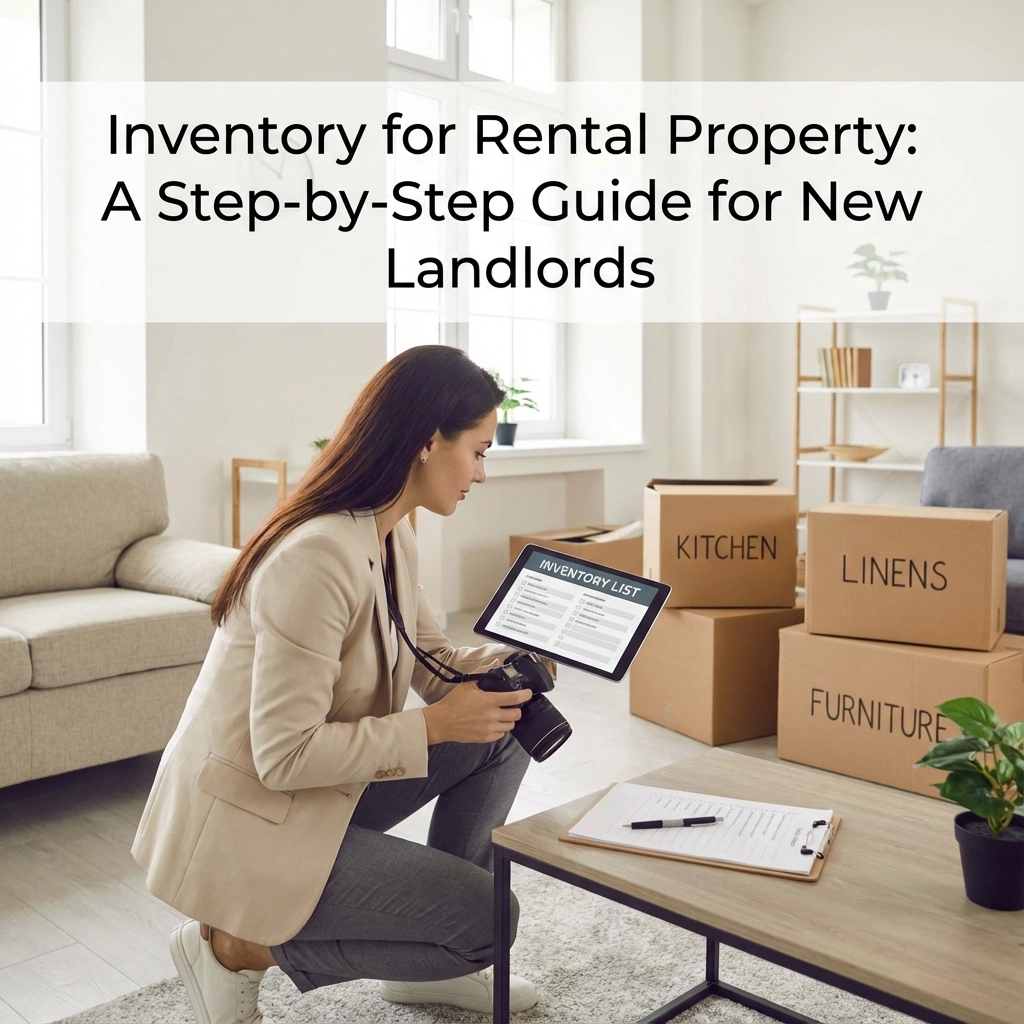
Starting your journey as a landlord can feel overwhelming, especially when you're trying to navigate the legal requirements and best practices. One crucial document that protects both you and your tenants is a comprehensive inventory for rental property. This detailed record serves as your first line of defence against deposit disputes and provides essential documentation of your property's condition.
Whether you're letting your first property or adding to your portfolio, understanding how to create a thorough property inventory is essential for successful property management in 2026's increasingly regulated landscape.
What Is a Rental Property Inventory?
A rental property inventory is a comprehensive document that records the condition, contents, and fixtures of your rental property at the beginning of a tenancy. Think of it as a snapshot in time that captures every detail about your property's state when your tenant moves in.
This document isn't just a simple list: it's a detailed record that includes written descriptions, photographs, and condition notes for every room, fixture, fitting, and item in the property. From the smallest scuff mark on the skirting board to the brand and model of your washing machine, everything should be documented.
Why You Need a Professional Property Inventory
Creating an inventory for rental property isn't legally mandatory, but it's considered essential best practice for protecting your investment. Without proper documentation, you'll struggle to prove the original condition of your property if disputes arise at the end of the tenancy.
The primary benefits include:
Legal protection: Detailed documentation supports your case if you need to make deductions from the tenancy deposit for damage or missing items.
Dispute prevention: Clear records reduce misunderstandings between you and your tenants about the property's original condition.
Professional credibility: A thorough inventory demonstrates your professionalism and attention to detail as a landlord.
Insurance requirements: Many landlord insurance policies require proper documentation of your property's condition and contents.

Step-by-Step Guide to Creating Your Property Inventory
Step 1: Prepare Your Property
Before you begin documenting anything, ensure your property is in the condition you want to let it. Complete all necessary repairs, deep clean every room, and address any maintenance issues. You're about to record the current state as the baseline, so make sure you're happy with what you're documenting.
Step 2: Gather Your Documentation Tools
You'll need:
- A digital camera or smartphone with good resolution
- A laptop or tablet for taking notes
- Measuring tape for recording room dimensions
- A torch for checking dark areas like cupboards and wardrobes
- Meter reading cards or your phone to record utility readings
Step 3: Start with Property Basics
Begin your property check in report by recording:
- Full property address
- Your name and contact details
- Tenant's name (if known at this stage)
- Date of inventory creation
- Move-in date
- Any relevant property codes or reference numbers
Step 4: Work Room by Room Systematically
Start from the entrance and work through each room methodically. For each space, document:
Structural elements: Record the condition of walls, ceilings, floors, doors, and windows. Note any existing marks, scuffs, holes, or damage using specific language like "small scuff mark on wall beside light switch, approximately 5cm."
Fixtures and fittings: Document light fittings, switches, sockets, radiators, and built-in storage. Test that everything works properly and note if anything is faulty or damaged.
Furniture and appliances: If your property is furnished, list every item with its condition, brand, model, and any existing damage. Include serial numbers for valuable appliances.
Soft furnishings: Record the condition of carpets, curtains, blinds, and any upholstered furniture, noting stains, tears, or general wear.
Step 5: Take Comprehensive Photographs
Photography is crucial for your inventory's credibility. Take wide-angle shots of each room showing the overall condition, then capture close-up images of any existing damage, marks, or wear. Ensure your photos are date-stamped and well-lit.
Pay particular attention to:
- Kitchen appliances (inside and outside)
- Bathroom fixtures and tiles
- Any existing damage or marks
- Utility meters
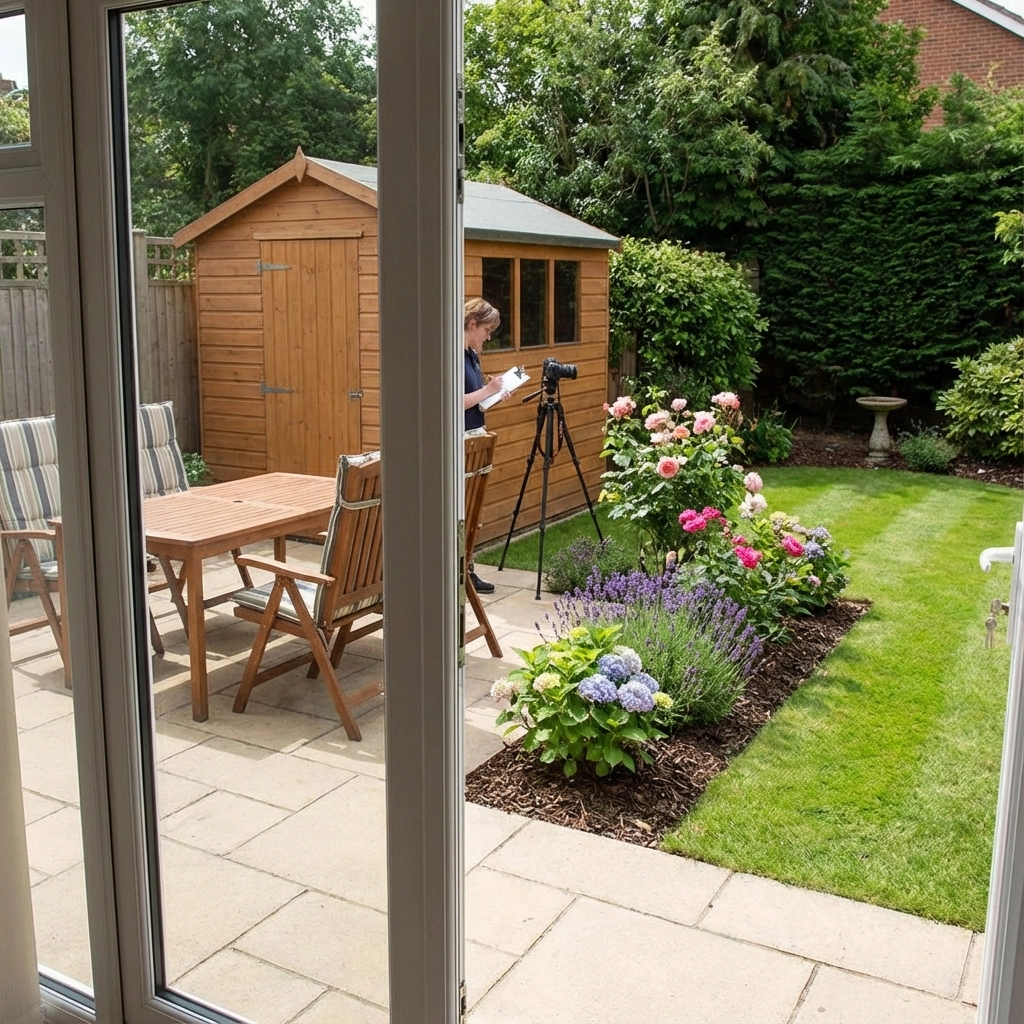
- External areas including gardens and parking
Step 6: Record Utility Readings
Take meter readings for gas, electricity, and water, photographing each meter clearly showing both the reading and the meter's location. This prevents disputes about utility usage and billing responsibilities.
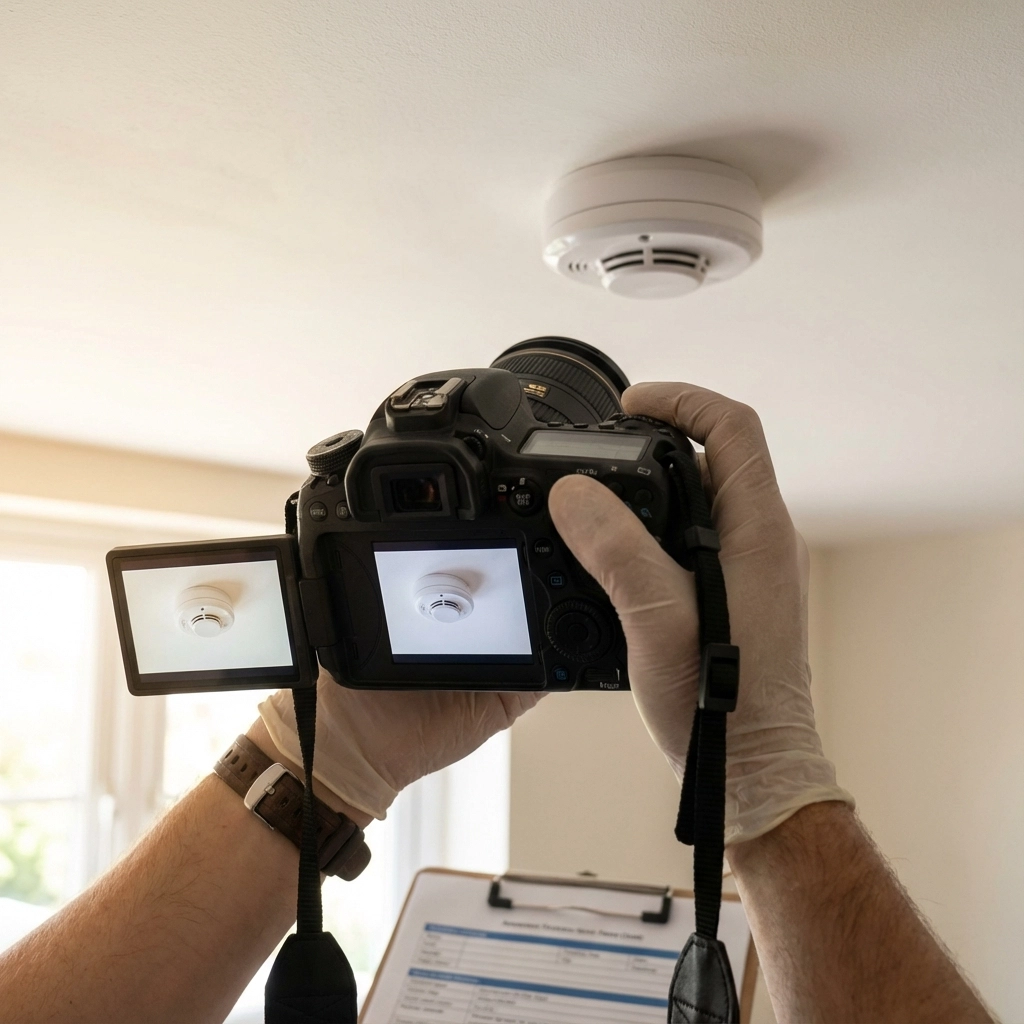
Step 7: Document Safety Features
Check and record the condition of:
- Smoke alarms (test they're working)
- Carbon monoxide detectors
- Security systems
- Fire extinguishers or fire blankets
- Emergency lighting
Note the locations and test dates, ensuring all safety equipment is functioning properly before your tenant moves in.
What to Include in Your Inventory Checklist
Kitchen Areas
Document all appliances with make, model, and condition. Record the state of worktops, cabinets, taps, and any existing damage to tiles or paintwork. Don't forget smaller items like can openers, cookware, or crockery in furnished properties.
Bathroom Areas
Note the condition of the suite, tiling, sealant around baths and showers, and any signs of mould or damage. Check water pressure and drainage, recording any existing issues.
Living Areas
Record flooring condition, furniture placement and condition, curtains or blinds, and any entertainment equipment provided. Note the condition of fireplaces if present.
Bedroom Areas
Document fitted wardrobes, bed frames, mattresses, and any furniture provided. Check the condition of flooring and note any existing marks or damage.
External Areas
Include gardens, patios, driveways, garages, sheds, and boundary features like fences or walls. Note the condition of any garden furniture or equipment provided.
Common Mistakes to Avoid
Being too vague: Descriptions like "good condition" or "some wear" aren't specific enough. Use precise language such as "three small nail holes in wall behind bed, each approximately 2mm diameter."
Missing photographic evidence: Written descriptions alone aren't sufficient. Every condition note should be supported by clear photographs.
Forgetting about less obvious items: Remember to document items like light bulbs, toilet seats, shower curtains, and garden tools.
Not checking everything works: Test all appliances, heating systems, and electrical items. Don't assume something works just because it looks fine.
Rushing the process: A thorough inventory takes time. Allow a full day for a typical property to ensure you don't miss important details.
Professional Services vs DIY Approach
While you can create your own inventory, professional services offer significant advantages. Independent inventory clerks provide impartial documentation that courts and deposit protection schemes view more favourably than landlord-created reports.
Professional services typically include:
- Detailed written reports with professional photographs
- Legally compliant documentation
- Objective, unbiased condition assessments
- Faster dispute resolution support
- Comprehensive check-out reports for comparison
If you're managing multiple properties or want to ensure maximum protection, consider using professional residential property services for your inventory requirements.
Next Steps After Creating Your Inventory
Once you've completed your inventory, provide a copy to your tenant before or on move-in day. Walk through the property together, allowing them to raise any concerns or disagreements with your assessment. Both parties should sign and date the final document.
Keep the original inventory safe and accessible throughout the tenancy. You'll need it for reference during any mid-term inspections and for comparison when your tenant moves out.
Remember to update your inventory if you make any significant changes to the property during the tenancy, such as replacing appliances or making improvements.
Creating a comprehensive inventory for rental property requires attention to detail and time investment, but it's one of the most important steps in protecting your property investment and maintaining professional landlord standards.
Join The Discussion